From empty page to a living community with members inside — five steps, about fifteen minutes, no tech skills required. This is the guide to do first.
Create your community
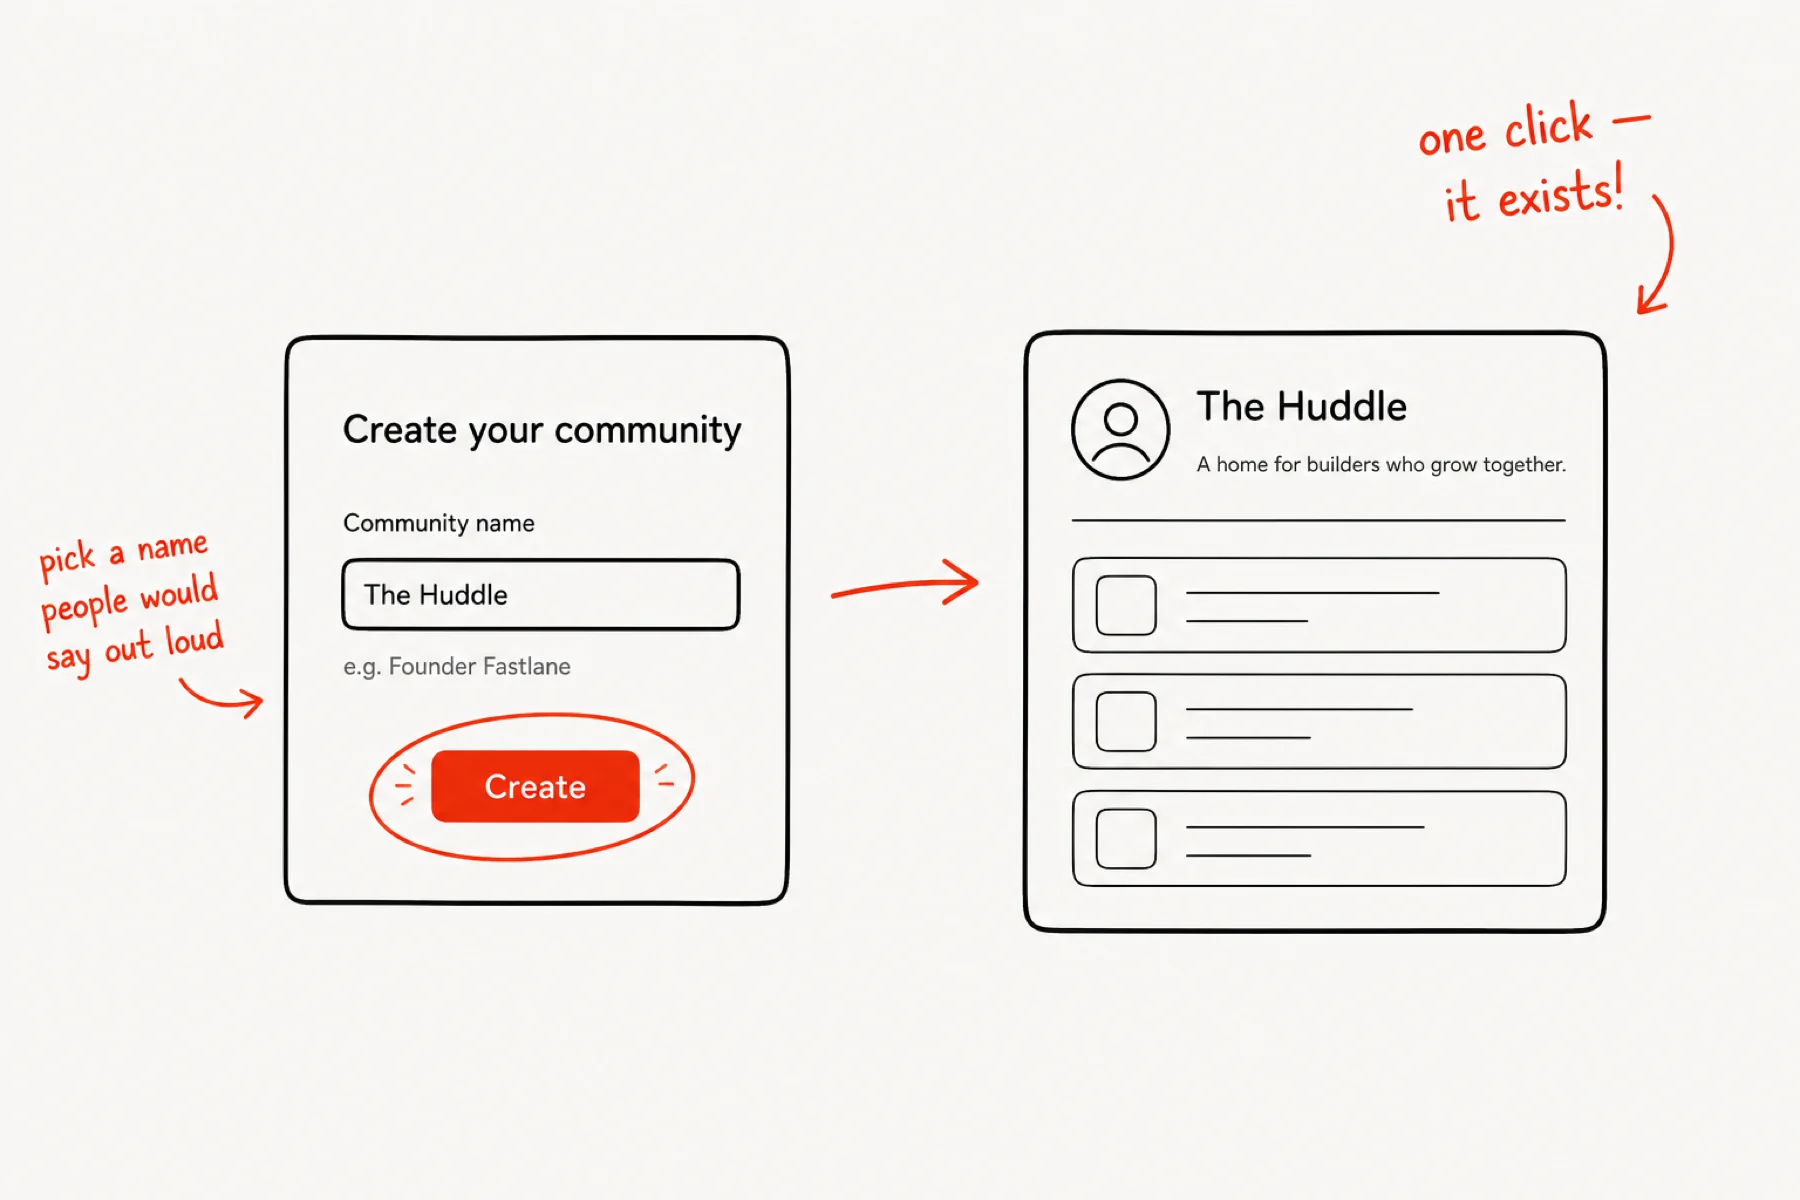
Sign up at iGloo and you land on one question: what is your community called? Give it a name people would actually say out loud — it becomes your link, your emails, your flag on the ice. One field, one click, and your community is live.
Everything else — branding, description, categories — is changeable from Settings once you are inside. Write the honest version now, polish later.
Set up your landing page
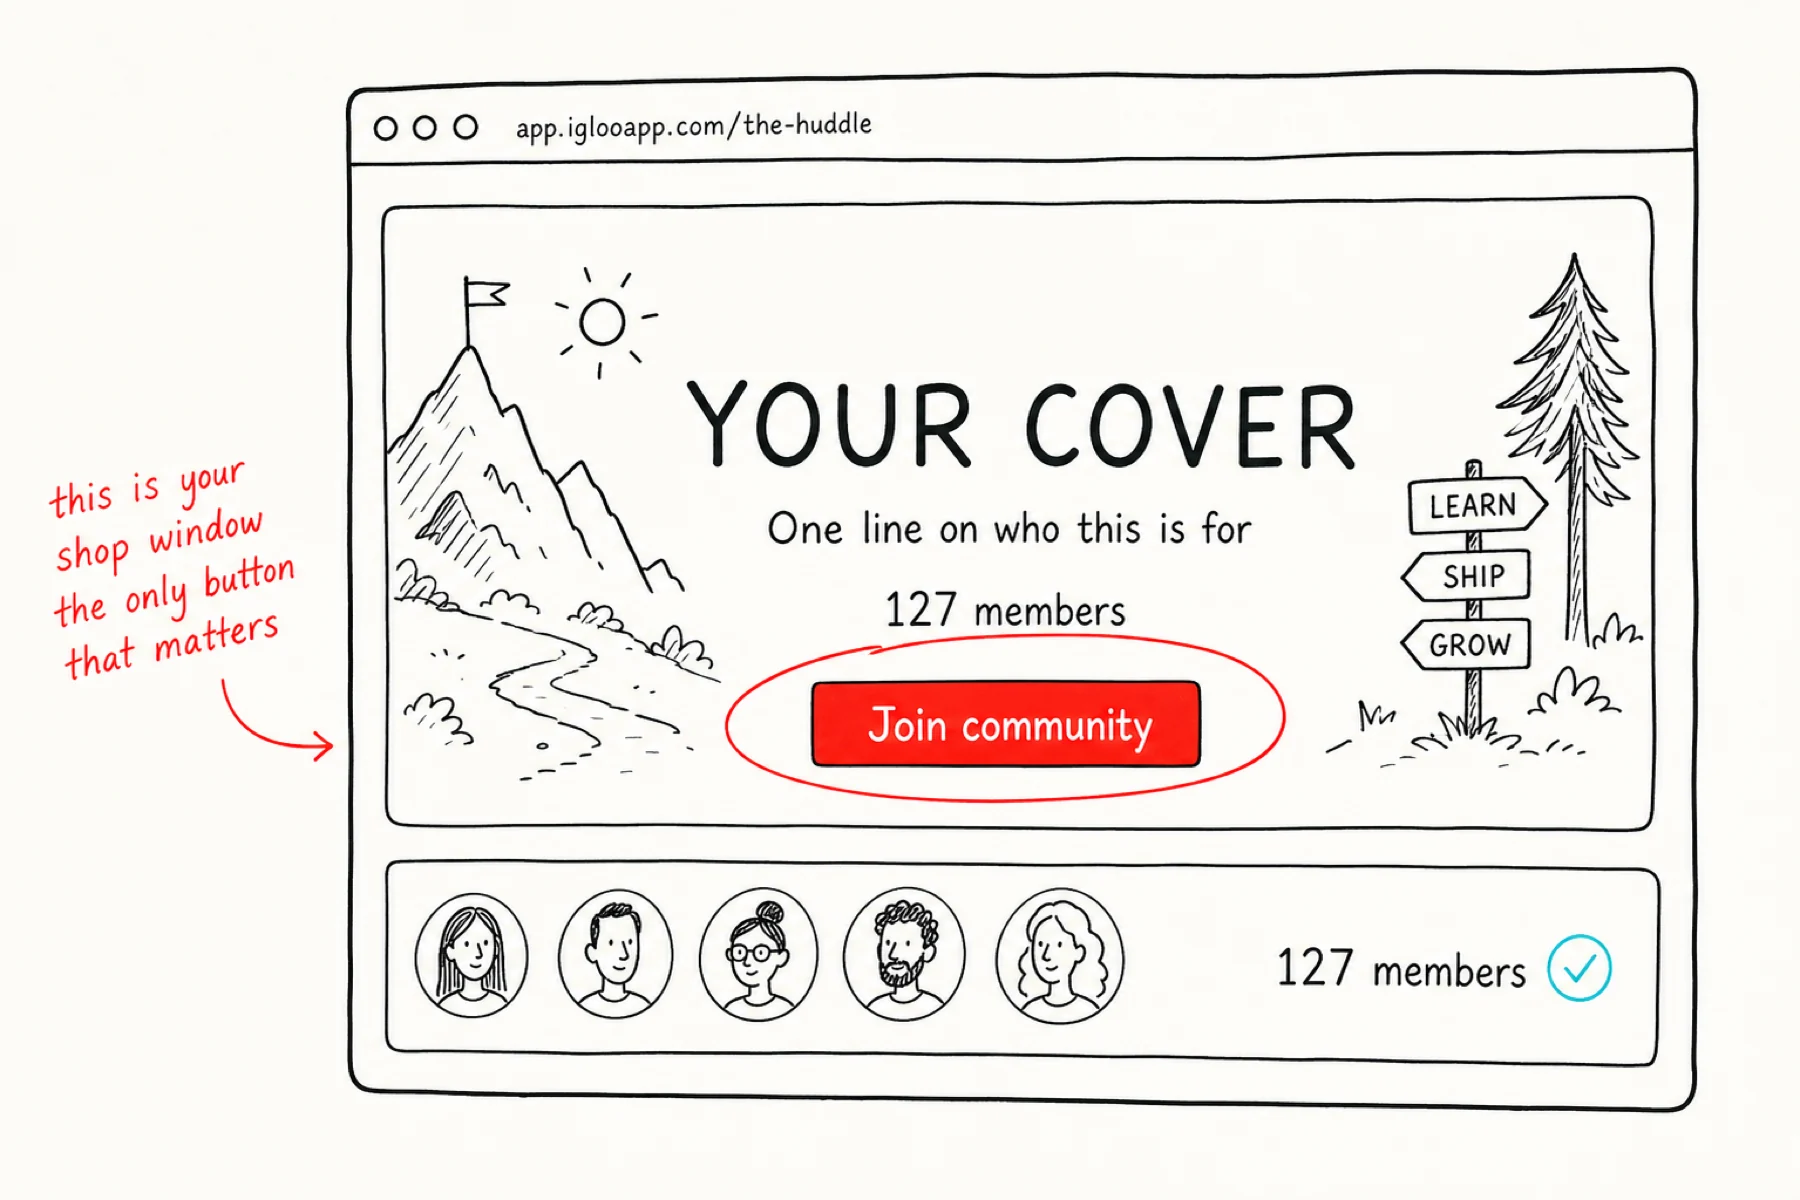
Every iGloo community gets a public front door automatically — the page a stranger sees before they join. Set your icon and description in Settings → Branding, and the page does the rest: it shows your member count, recent posts and courses, live.
The Join community button is the only conversion moment on the page, so your description should answer one question fast: is this for me?
Invite people — or bring your list with you
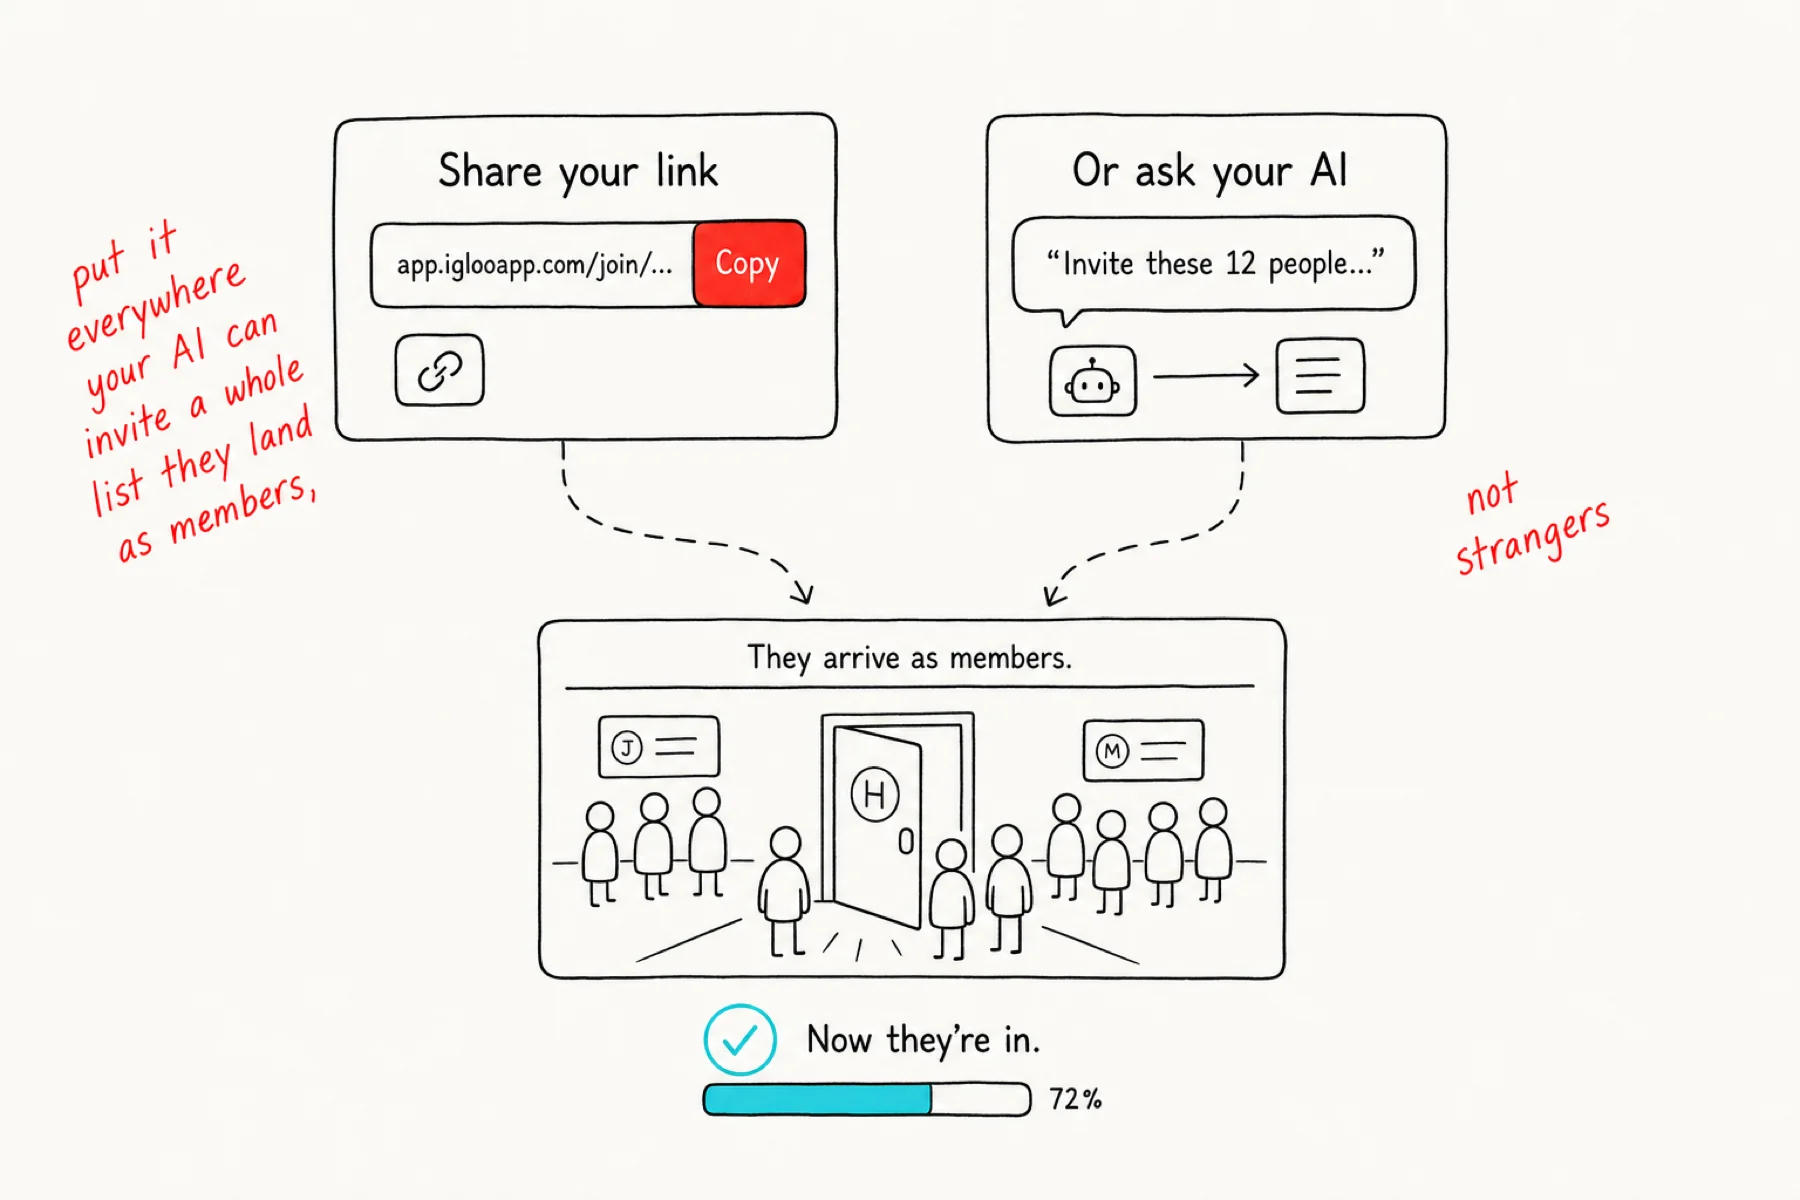
Your invite link (Members → Invite) goes everywhere your people already are: email signature, social bio, the PS of your newsletter. The code is the admission: anyone who clicks lands straight inside as a member — no approval queue, and it works even while iGloo signups are otherwise closed, and even if your community is private.
Already have a list? Tell your connected AI to invite them: it can register people by email for you, so day one looks like a community, not an empty room. (See the Connect your AI guide — it is one copy-paste.)
Approve the right people
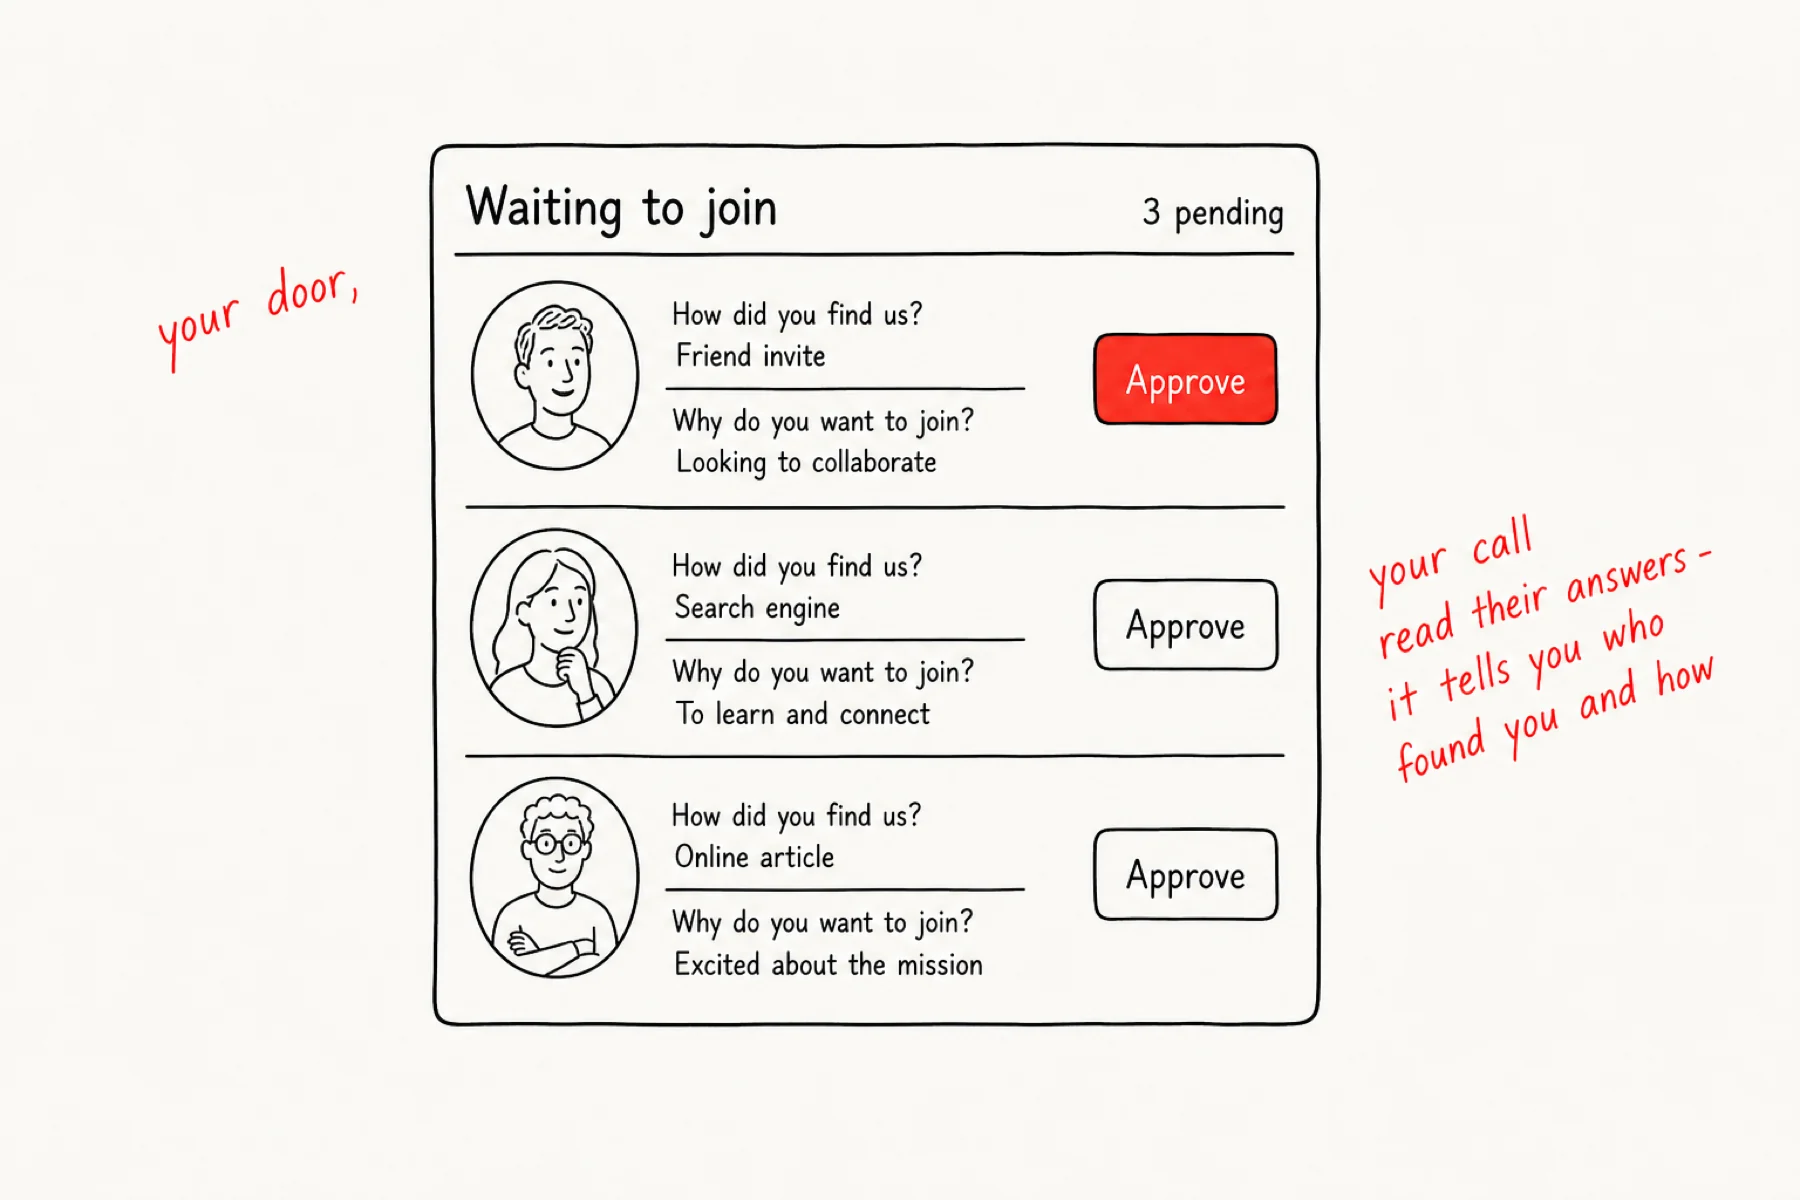
People who find your public front door and press Join wait in a queue on your Members page with their answers to your joining questions (invite-link arrivals skip this — they were already vouched for) (set those in Settings → Onboarding — up to five). Read the answers: they tell you who found you, and how.
Approve lets someone in — they get a notification and an email with a sign-in link. “Not now” quietly frees the seat and lets them ask again. Both take one click.
Post the welcome message
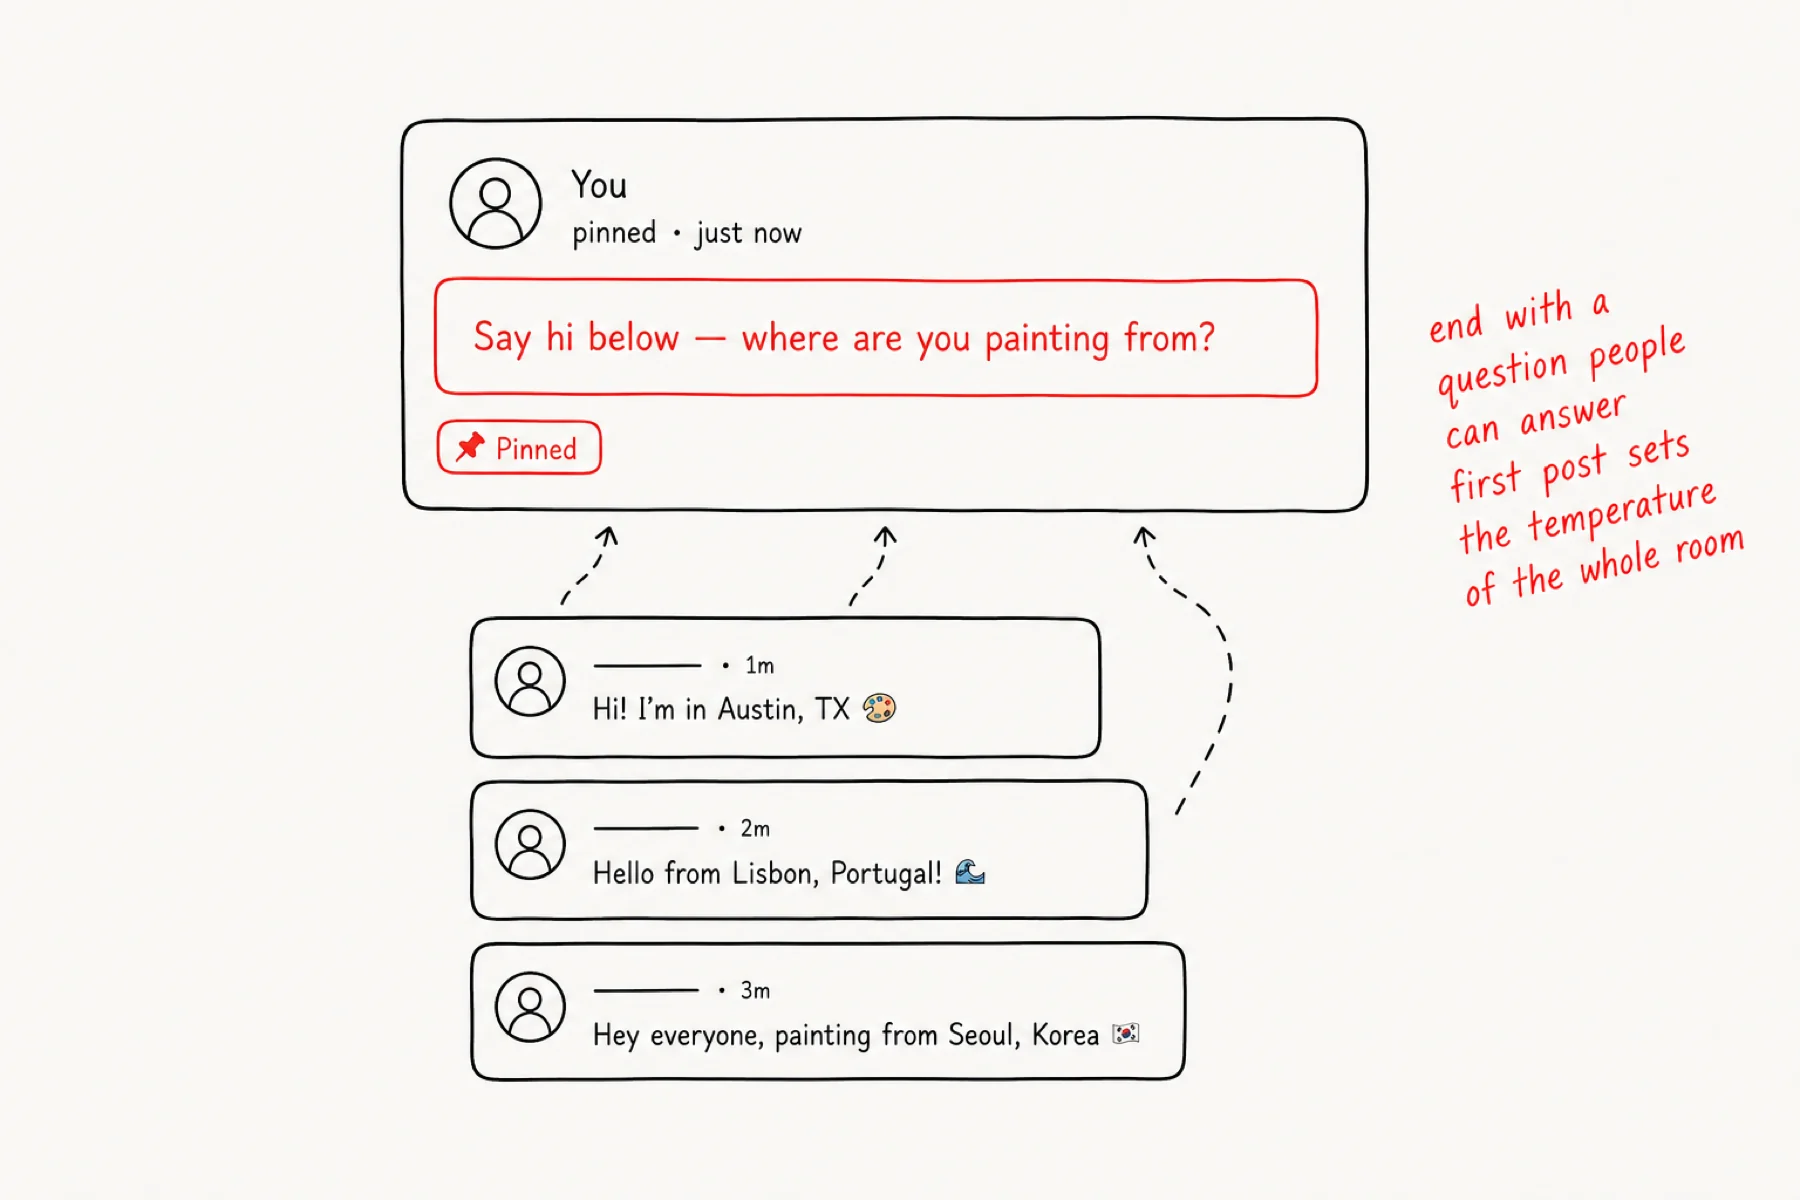
The first post sets the temperature of the whole room. Write a short welcome, say what happens here each week, and pin it so every new member lands on it.
End with a question anyone can answer — where are you from, what are you working on. Members who comment once come back; day-one lurkers tend to stay lurkers.
If something is not working
The front door looks empty: set your icon and description in Settings → Branding — they carry the page. Activity fills in on its own once members arrive.
Invite link says invalid: the code may have been revoked — grab a fresh one from Members → Invite.
People join but never post: your welcome post is missing its question. Give people a one-line way to say hello.